I’ve had a few requests on Instagram for a step-by-step guide on my paved city bases.
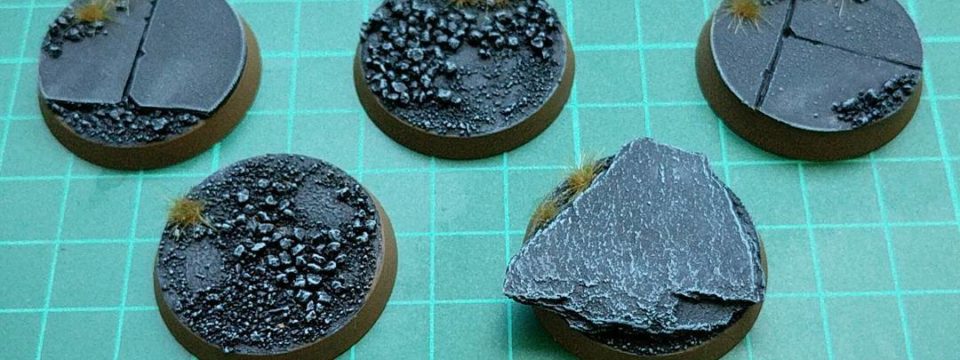
My Blood Angels are deployed in the ruins of an Imperial city. They stride through rubble and across broken city streets whilst crushing the enemies of the Imperium!
I wanted to be able to produce paved city bases quickly and simply without resorting to expensive moulded bases or casting. I settled on the below technique;
Tools and Materials
You’ll need the following materials;
- Bases
- An old DVD case (remember those?) or any equivalent thin plastic sheet material
- Glues (I use a two part epoxy like Araldite to make sure the base doesn’t fall apart and PVA to stick down the grit)
- Your favourite basing grit. Sand, cat litter, the ground down bones of your enemies etc.
- Paints
And the following tools;
- Sharp hobby knife
- Metal ruler
- Pencil
- Brushes etc
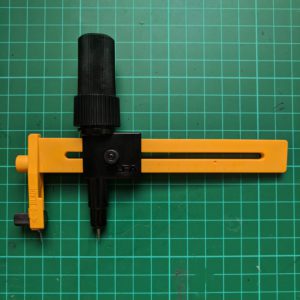
- A compass cutter. This is a tool for cutting accurate circles. I picked up this one from Olfa.
Building the paved city bases
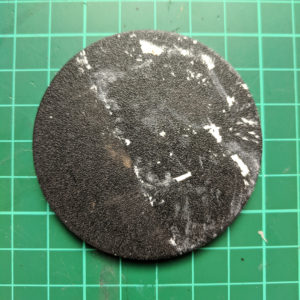
First you need to set the compass cutter to the radius of your desired base size. In this tutorial I’m using a 60mm base so I set the compass to 30mm. Then carefully cut a circle out of your plastic sheeting material. If you use a DVD case its best to not use your wedding video instead pick something like Zoolander 2 or any of the Aliens series after ‘Aliens 3’.
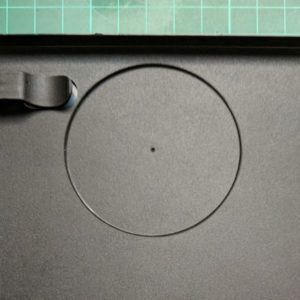

Next mark out the individual paving slabs with a pencil and ruler, offset ones look better obvs. On bigger bases its a good idea to number the slabs. This means that you won’t have to complete a crappy jigsaw puzzle every time you accidentally knock the slabs out of place.
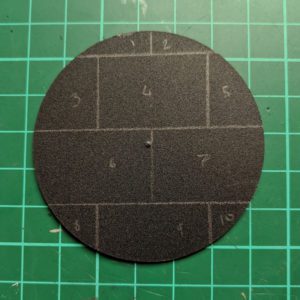
Use a sharp craft tool and a metal ruler to cut out the slabs. Watch out for those fingers kids Khorne relishes this part of the process.
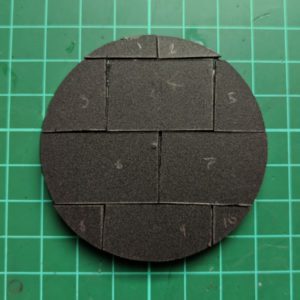
Next carefully bevel the slabs by shaving along the top edges of the slabs with a craft knife. I also add random chips by cutting notches in the slabs.
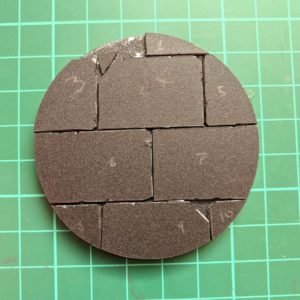
Glue down the slabs with superglue or epoxy. I added grit to the spaces between the tiles for added texture. I often also add some sand to the top of the slabs in little patches to represent dirt and rubble kicked over the surface of the ground.
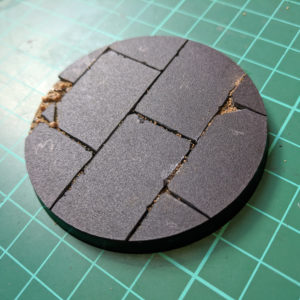
Painting and finishing
I use Games Workshop paints for my bases;
- Prime in black
- Dry brush heavily with Eshin Grey
- Dry brush lightly with Dawnstone
- Paint the edge with Steel Legion Drab
- I usually add some green grass tufts to my bases to contrast with my marines


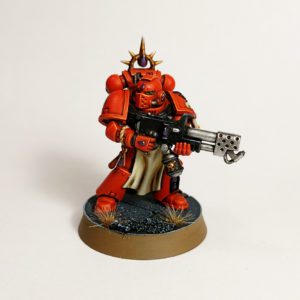
Thats it! Simple!
Leave a comment below if you’d like any clarity or want to share an example of your own city bases.
Do you find you keep an eye out for materials with textures that would work at 28mm scale? The DVD case is a great spot. I’ve made city bases by casting a thin sheet of plaster on a flat surface and then breaking it into ‘slabs’ to place on the base. I think your way is better, but will try and find some photos of my bases.
That sounds great! I’ve heard good things about using milliput to do something similar (to make a sheet and let it dry then crack it) but I’ve always found it hard to work with. Definitely share a photo if you find one!
And yes, I’m always on the look out for stuff to turn into bases and terrain. You’ll often find me surreptitiously pinching little bits of slate from local drive ways and gardens for characters to stand on!
Bit of a late comment… how do you pick which/how much grass to go with them?
I’m looking to add some to a set of more concrete slabs, but don’t want it to look like a meadow.
You’d generally keep to a 1-2 tiny tufts rather than anything large on paving stones?
Hello! I tend to keep it to one or two small pieces. If you only have large tufts its possible to cut them in half with a craft knife or scissors! Also they look most realistic on the gaps between the paving slabs (look at google for inspiration). Good luck!